
A student opens the course module, sees “Join live” and clicks. The instructor’s link works, but the student sees an access message. The problem may be the event’s access rules, an unpublished module or instructions written for an organizer’s account.
Treat the LMS as the course’s starting point and InterScribe as the linked session destination. This guide describes a link-based workflow. It does not assume a native Canvas or Blackboard connector, automatic roster synchronization, grade transfer or automatic replay captions.
Decide what the course module must explain
Before adding a link, write down the session date and time zone, available language support, joining route, access requirements and help contact. A descriptive link such as “Join Wednesday’s guest lecture” is more useful than several identical “Click here” links.
Keep the session destination and the course instructions together. If the course module contains one date while the linked session displays another, students have to guess which is authoritative. Assign a person to update both when the schedule changes.
A recurring series link can open the next date; a link to one event remains an occurrence-specific choice. Pick deliberately using Share and joining options. Do not use a next-date link as a permanent archive link to last week’s lecture.
Copy this course-module template
Replace every bracketed field before publishing:
Live session: [topic]
When: [date, time and time zone]
Available support: [languages and formats actually arranged]
Join: [descriptive link to the correct destination]
Access: [required event code, approved access-code distribution or pass instructions]
Before class: Open the route and check that you recognize the session. Use headphones when listening on a personal device in the room.
If joining fails: [course help contact and an approved alternative]
After class: [where reviewed materials will be posted and who will post them]
Do not promise an immediately available recording or a reviewed transcript unless somebody owns that work. A clear “materials will be posted after review” is more useful than a download link that never appears.
Add an external link in Canvas
Canvas supports external URLs as module items. In the intended module, use its add-item control, select External URL, enter the destination and a meaningful page name, and add the item. Consider opening the destination in a new tab so students can return to the course instructions. Check the item and module’s publication state and any availability restrictions. Follow the current Canvas external URL instructions for the controls in your course.
Keep the explanatory text in an adjacent course page or module description rather than making the link title carry every access requirement. Test the resulting route from the student’s view and, where your institution permits, a representative student account. An instructor’s successful click does not prove student availability.
Add a web link in Blackboard
For Blackboard Ultra, use the course content area’s create-content workflow to add a web link. Provide a clear display name and the InterScribe destination, then check student visibility and any release conditions. Northwood Technical College documents its Blackboard Ultra link workflow; follow your institution’s guidance if its configuration or course experience differs.
Do not assume instructions for Ultra apply unchanged to Original Course View. Identify the course experience before giving staff a screenshot checklist. In either case, the acceptance criterion is the same: a student can find the published item, understand its purpose and reach the correct session with the stated credentials.
Handle the access-code exception explicitly
An InterScribe web direct link or QR code does not prompt for a required session access code. It can show access denied instead. For a protected session, direct students to the join page or portal and explain how to enter both the event code and access code. Distribute the access code through the channel your course owner approves.
In the app, the access code is called a Pin Code. A partnership pass requirement is separate: the listener must sign in with a valid pass. See joining a session and listener accounts. Do not describe a course enrollment as automatically granting either InterScribe access or a partnership pass.
Fictional example: a visiting lecturer module
Imagine a language department scheduling a guest lecture. The instructor creates a course page titled “Guest lecture: joining and follow-up,” followed by a descriptive external link. The session requires an access code, so the page links to the join route and provides the event code plus the approved way to obtain the access code.
The course assistant completes this acceptance record:
| Check | Evidence to record | Owner if it fails |
|---|---|---|
| Student can see the module | Account role and availability window tested | Course instructor |
| Destination is the intended lecture | Displayed topic, date and time zone | Session organizer |
| Access instructions work | Fresh browser test using the stated route | Course assistant and organizer |
| Language support is understandable | Student can identify the available option | Event language lead |
| Help route is usable | Contact and response arrangement confirmed | Course support owner |
| Follow-up has an owner | Reviewer and publishing destination named | Instructor |
This is a fictional procedure, not a report that a particular institution completed these checks. Use the empty evidence column for your own observations, including failures.
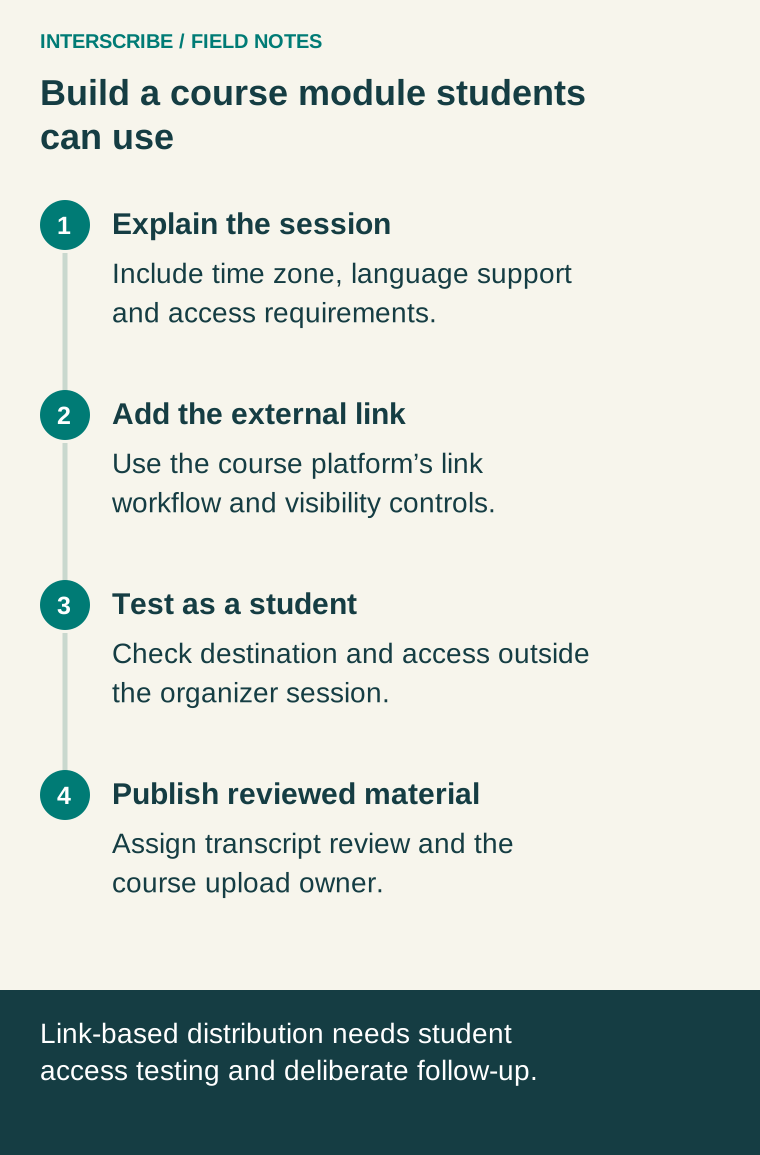
Publish reviewed follow-up materials deliberately
InterScribe’s transcript guide describes organizer downloads in formats including document, text and subtitle files. Review the material for names, terminology and suitability before placing it in the course’s approved location. Check that students can open the selected format.
A subtitle file is not automatically synchronized with a recording merely because both exist. Editing the recording can change timing. Review any caption track with the actual video in the player that students will use. This workflow does not provide automatic LMS upload or replay-caption synchronization.
For the next session, reuse the module structure but recheck the destination, availability window and access instructions. A reusable template should reduce forgotten steps, not preserve last week’s mistakes.